
“To invent, you need a good imagination and a pile of junk.” – Thomas Edison
By now, many of us have heard of makerspaces. There’s likely one at our child’s school or local library or a nearby museum. What’s exactly in a makerspace is a mystery, however.
When we think of maker labs, many of us think about high-tech equipment like laser cutters or 3D printers; but while many public makerspaces do include these neat tools, any space can be a makerspace. After all, makerspaces are actually exactly what their name suggests: a space to make things.
Humans are natural makers. From infancy, children are constantly imagining, creating, and testing the world around them. The purpose of these spaces are to foster that creative and critical thinking – and to keep supplies in an easy-to-use area.
Children do not need fancy tools, like a 3D printer, to continue to be inventors. They just need stuff to create their ideas and test them. In the words of Nancy Cole, “I’m realizing that much of my house is currently a makerspace. We already have Legos, blocks, pipe cleaners, fuzzy pom-poms, a glue gun, aluminum foil, bendable wire and multiple containers of markers, crayons, colored pencils and paints. Oh, and random pieces of cardboard. I just need to carve out a dedicated space in our home to gather it all together and allow my children to explore the endless possibilities of their imagination.”
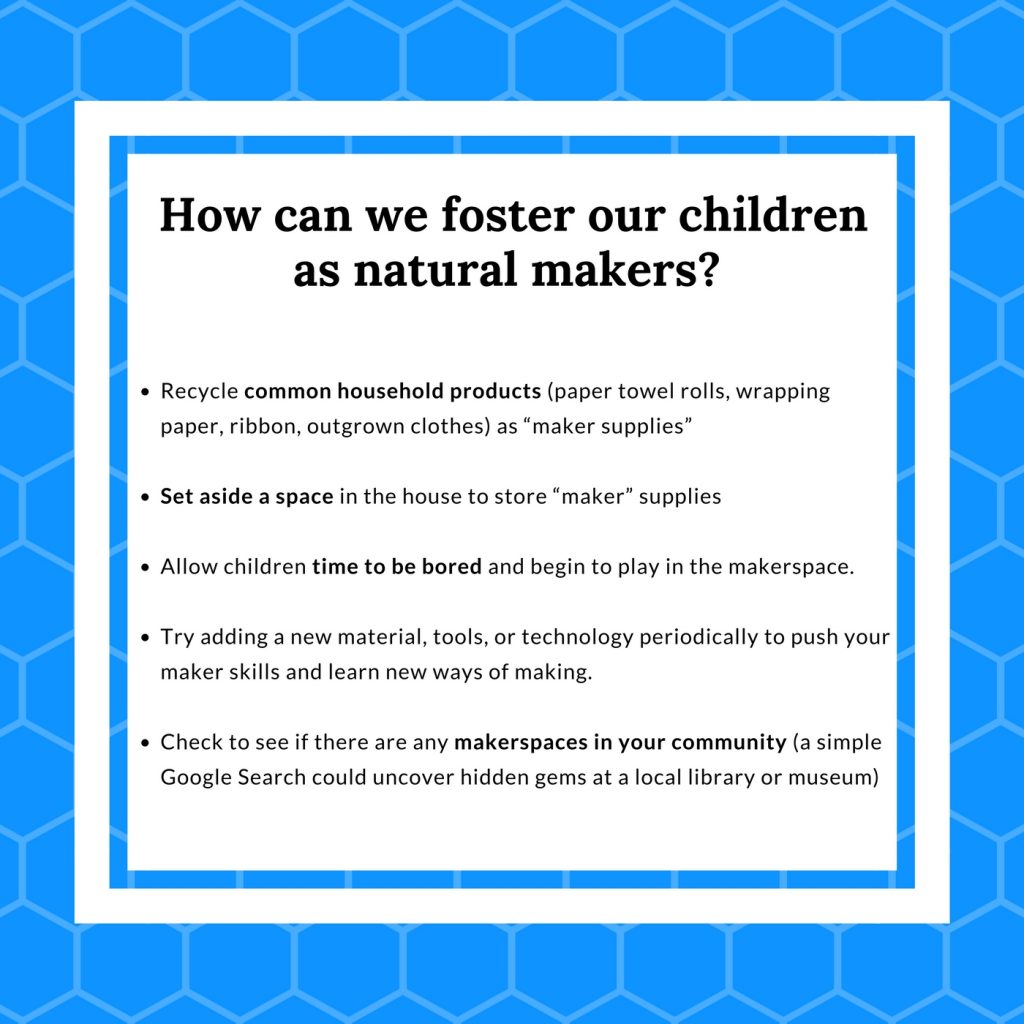
So what can we do as parents to support our creative problem-solvers?
The first step is to change our lens: look around your house for maker supplies you already have.
Some of the best maker materials hide in plain sight. Tissue boxes, paper towel rolls, toilet paper rolls, and envelopes with the clear plastic address box all make incredible building supplies. You may need to consider getting a couple rolls of different types of tape, glue, and a pair of scissors, as well as some drawing supplies if you don’t already have these at home.
Once you see how many materials you already have, you just need to make a space for them. Once you find a space – in a play room, a corner of the living room, or even a spare bedroom; bring in your kids as the designers. They will have ideas you never considered, and by creating the space themselves, will be more likely to take ownership in keeping it clean and stocked. To see how others have designed their at-home makerspaces, take a look at some of these:
A recipe for a dedicated Makerspace
A recipe for toolbox Makerspace
Recipes for single-shelf Makerspaces
Remember, any space can be a makerspace. Whether it’s a small bookshelf in the corner, or an entire playroom makeover, it’s the freedom to get messy, persevere, and learn through failed attempts at solving problems that “make” the maker lab.
In the words of Janette Hughes, “In these spaces students are learning how to tinker collaboratively with a problem and keep trying until they find a solution. They are learning to be thinkers, innovators and problem-solvers rather than mere consumers of information.”
Remember, too, there may be a public makerspace in your city, too! A simple Google search could uncover hidden gems at your local library or museum. After a visit, see if there are any ideas you can bring home with you.
Happy making!